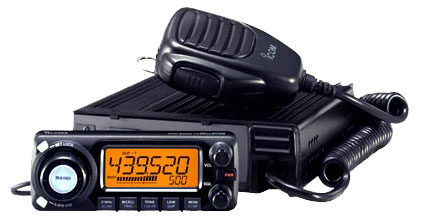
I bought my IC-208h without a remote head separation cable, and sourcing them was like hens teeth, and cost a small fortune. So I tried unsuccessfully to duplicate the cable ends and gave up for a while.
With renewed interest after about twelve months, I trued again, this time successfully.
I decided to add my own easily found ports to both the head and body of the radio, that I could then use a commonly purchased cable type to connect.
The connectors
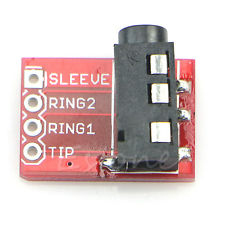
The first order of business was to identify a connector type that was small enough to add to the radio, and had readily available cables. My search led me to TRRS (Tip Ring Ring Sleeve) sockets, which were the size of standard 3.5mm audio jack.
I found the following on eBay for $1, which included a breakout board.
The circuit points
The next step involved identifying the points on the head and body circuit boards to attache the new ports to. Be sure to use a small tip on your soldering iron, because we’re working with surface mount components that are very close together.
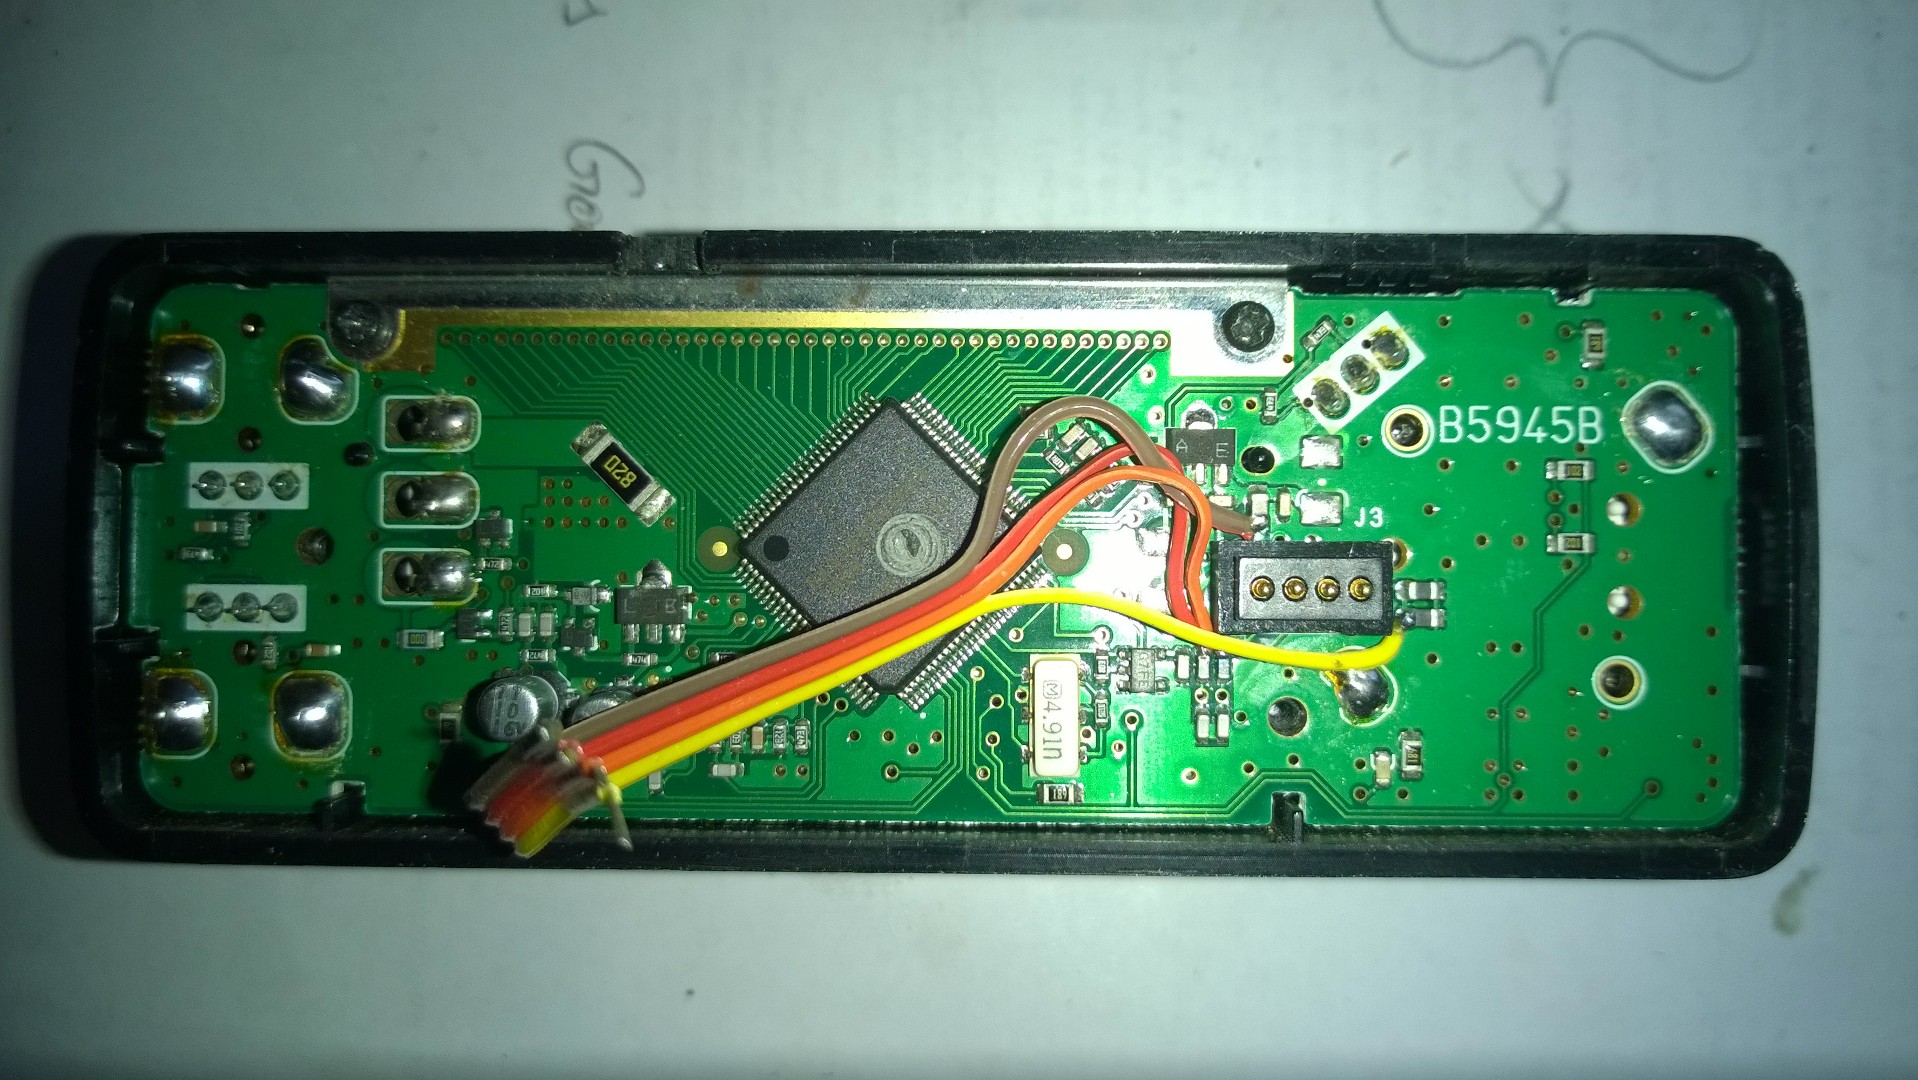
Head unit
First the head unit. As you can see from the board layout and photo, the pins that the separation cable uses each connect to a resistor. As such, we need to solder a wire to each pin.
Unfortunately I forgot to take a photo of the connector in the head. Needless to say It got mounted in the space just to the left of the IC, with the plug at the top of the head. In fact, you can see where I’ve made the space for the socket on the top edge of the head unit in the third image.

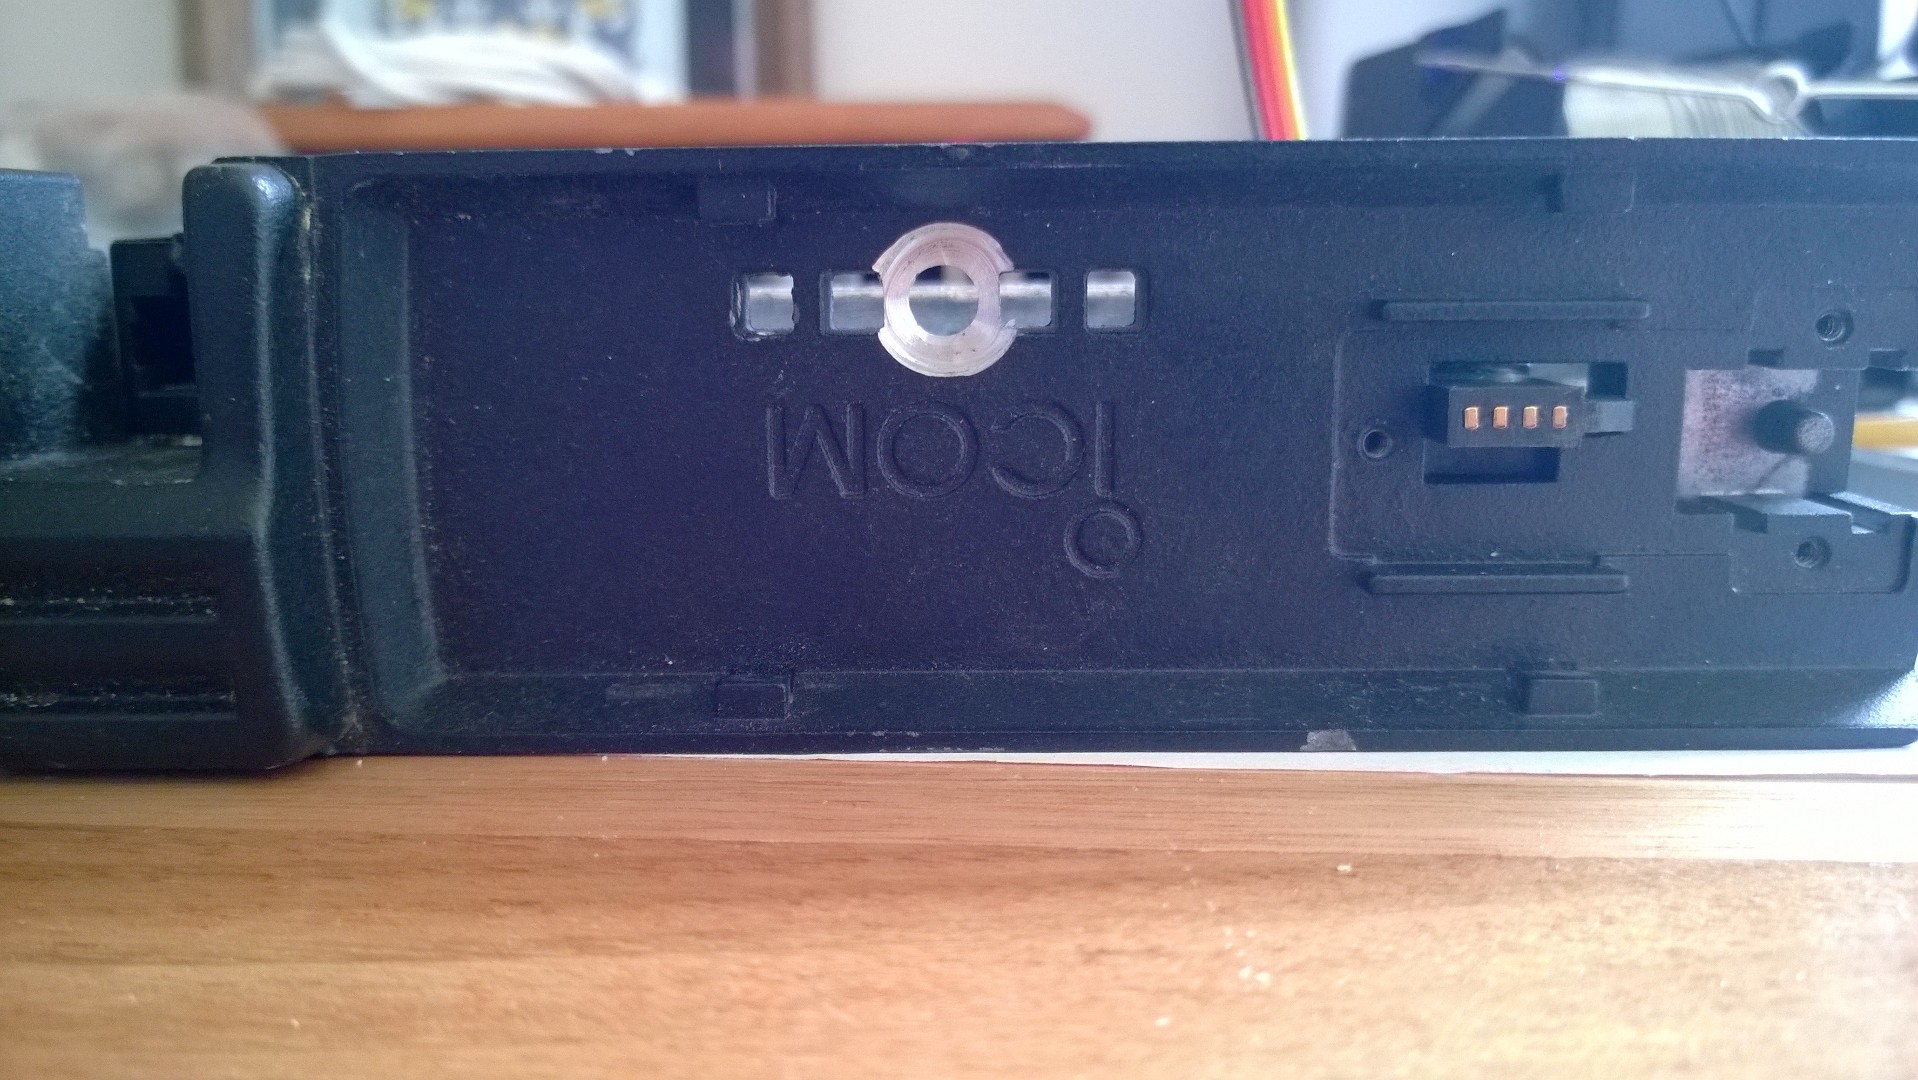
Body
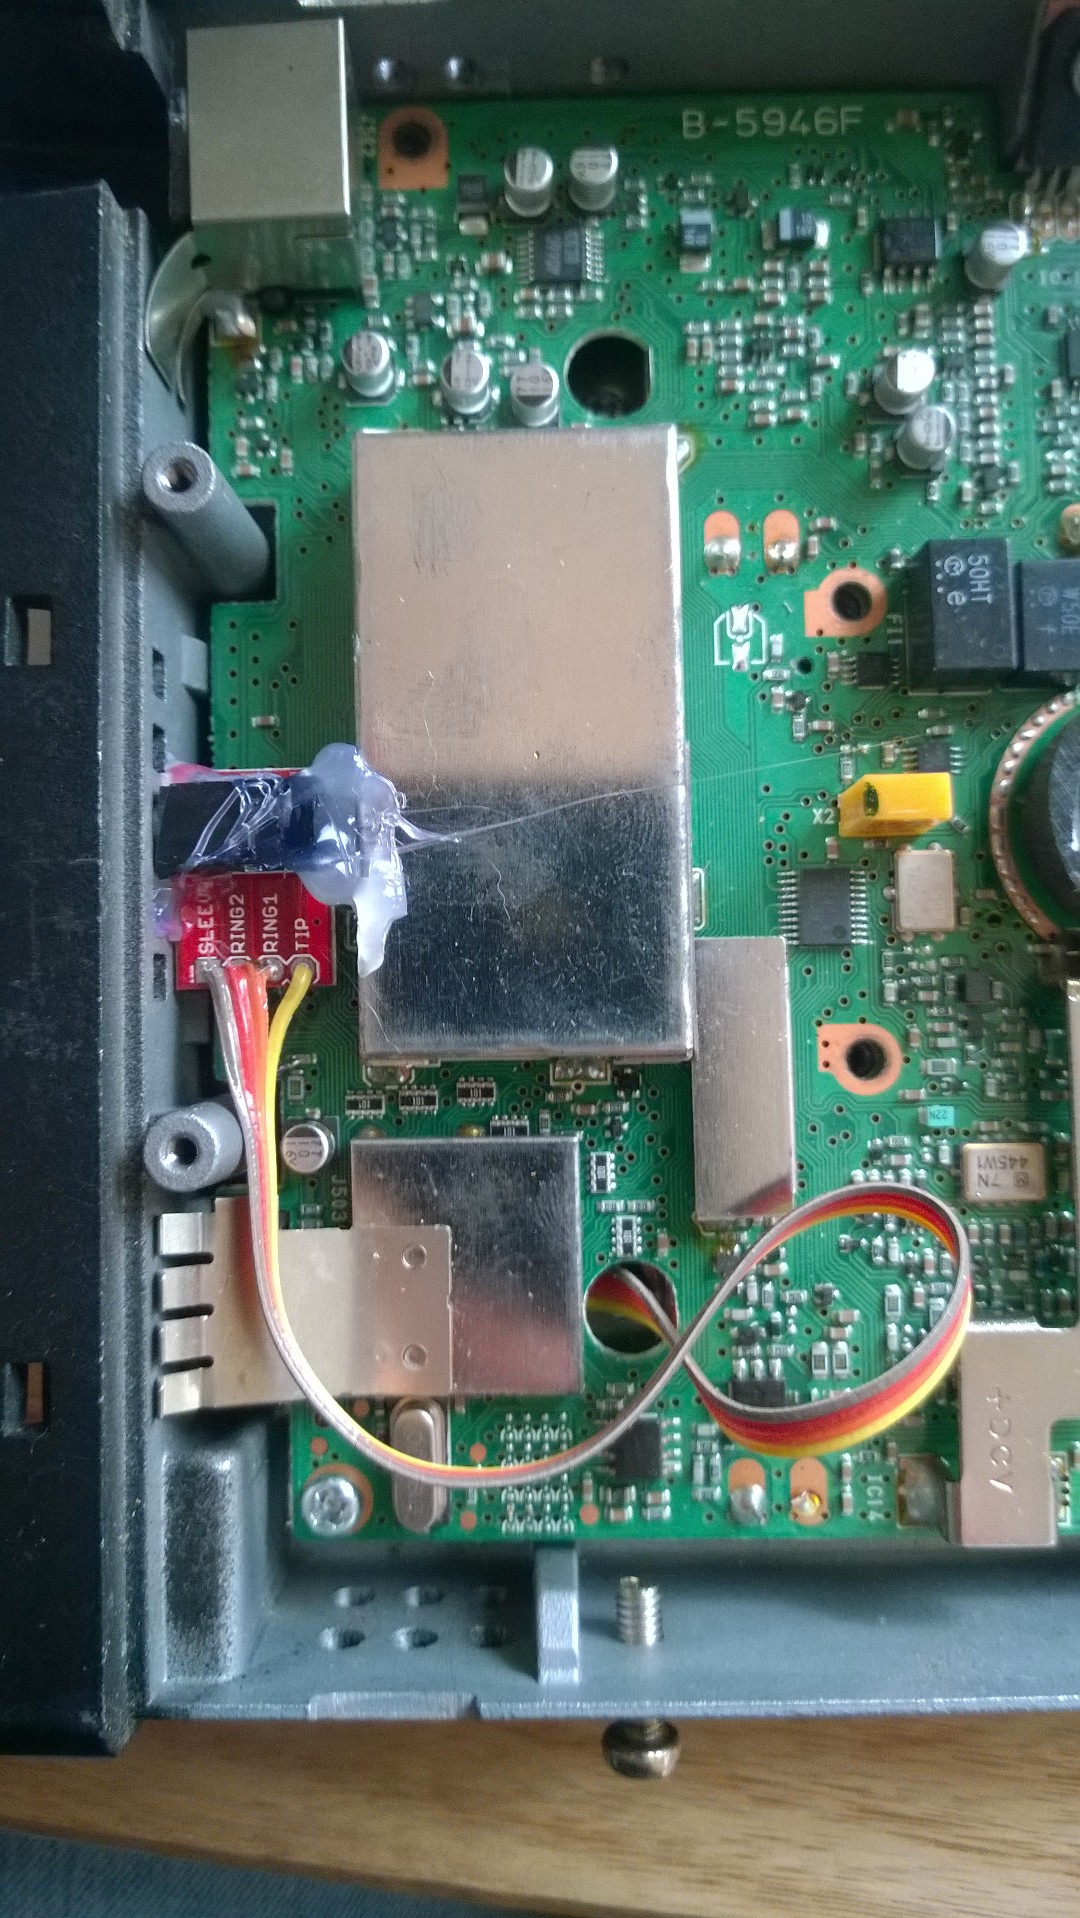
The body was a little tricky, as we couldn’t access any exposed points easily. As such, the simplest solution was to tap directly onto the solder joints that the connector is attached with. To do this however you will need to remove the shield that covers the them.


When you look at the last photo’s don’t run the cable like that however, as it goes right next to an amplifier, and it caused the squelch to always be open. Once I re-routed it the issue resolved itself.
As far as connecting the socket, I drilled out one of the air vents to make space for the cable connector, and simply hot glued the connector in place.
Final thoughts
I’ve now had it installed for a couple of months, and it works perfectly. I wasn’t able to find any other examples of homebrew / DIY separation kits, so hope this has helped you in some way.
Feel free to pop a message in the comments if you have any questions.
Hi Lance,
I had the same “problem” (second hand IC-208 without remote cable) but I ended solving the issue buying a 2730. What you did is very cool, but it requires lots of time/effort.
73,
Carlos VK1EA
Carlos, what is a 2730? If there was an easier way, I certainly would have taken it!
Ironically, I since found the required cable direct from Japan. Though at the time of writing this article, they couldn’t be found for love or money!
Lance
Sorry Lance, I did not see your message until now.
The “2730” is a V/UHF radio from Icom. It does both bands simultaneously.
73,
Carlos VK1EA
I know this thread is dated but do you recall where you later found a source for the factory cable (Kenwood part # OPC-600R) in Japan? (Your DIY solution was great)
Good morning Rob,
From memory, I did a Ebay search, and one came up from a seller in Japan. Not knowing the longevity of my mod, decided to play it save and buy it. Alas, I’ve never needed it. It just looked in my radio drawer to offer to sell it on to you, but a it’s grown legs and disappeared! If it turns up, I’ll let you know.
Kind regards,
Lance
Where did you purchase the connectors? Are they still available?
Hi Stephen
It’s a SparkFun part, model BOB-11570. I don’t know where you are, but you can get it direct from SparkFun in the USA or Core Electronics in Australia.
https://www.sparkfun.com/products/11570
https://core-electronics.com.au/trrs-3-5mm-jack-breakout.html
Good luck,
Lance
Nice mod, I have a 208 and have wanted to build a separation cable for a long time. When I do, the connection points that you indicate will be very helpful. 73 de YS1MS
Lance, this is brilliant! I’m going to make this for the IC-207H that I just acquired. I was scheming a way to mount a PC board at the spring contacts and wondering what I’d do for the other side that doesn’t have spring contacts. But your scheme looks faster, plus it uses inexpensive OTS components. Thanks for writing this up and sharing it! Cheers, VE7UTS
I know this is an old post but I believe mine has the same issue, got a wattage for the 1 ohm resistor there are a million out there?